Domains & HTTPS
Out of the box every project is reachable on a port, something like http://<host>:20000. That works, but it’s no fun to remember, and a lot of applications behave better with a proper name and HTTPS. So Envoryx comes with a reverse proxy: it looks at the host name of each request, sends it to the right project, and serves the Envoryx UI itself. With a bit of setup your projects become https://shop.test.
Publishing the proxy
Section titled “Publishing the proxy”The proxy listens on ports 80 and 443 inside the container, so those two need to be mapped to the host. Any free ports work; Envoryx reads its own port bindings and builds its links from them. The installation maps 80/443 - take others if they are in use. If neither port is published, Settings → Domains & HTTPS shows a warning, and project links simply keep using the direct ports.
If the container has its own IP address (Unraid br0, macvlan/ipvlan) or runs with host networking, there’s nothing to map: the proxy answers straight on Envoryx’s address. Your DNS entries then have to point at that address.
The base domain is test unless you change it under Settings → Domains & HTTPS. Every project is then called <slug>.<base>, and the UI lives at envoryx.<base>. If a project needs more names, say shop.local or api.shop.test, add them in its Domains section (or with envoryx domain add shop api.shop.test); each name can only belong to one project.
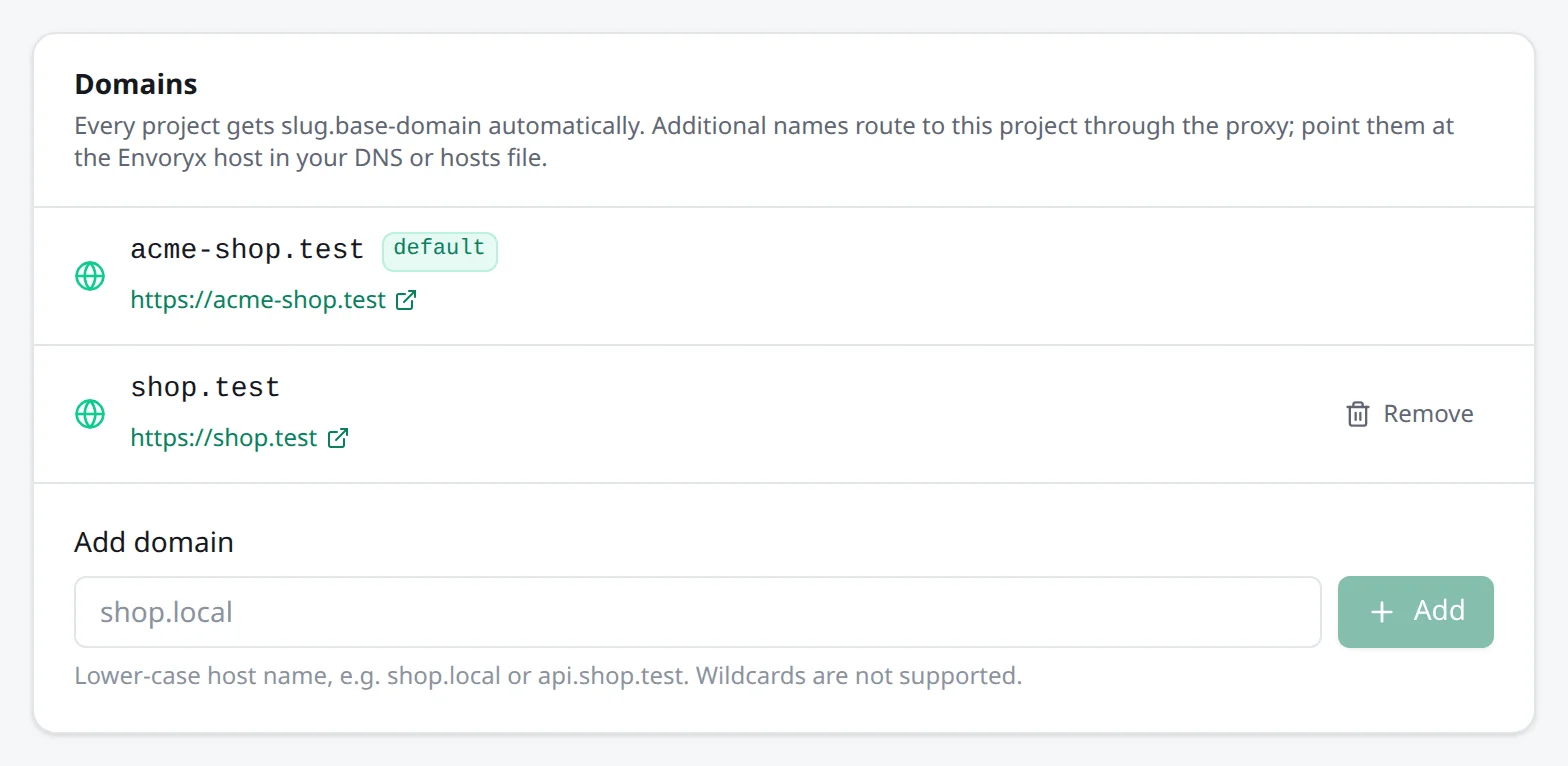
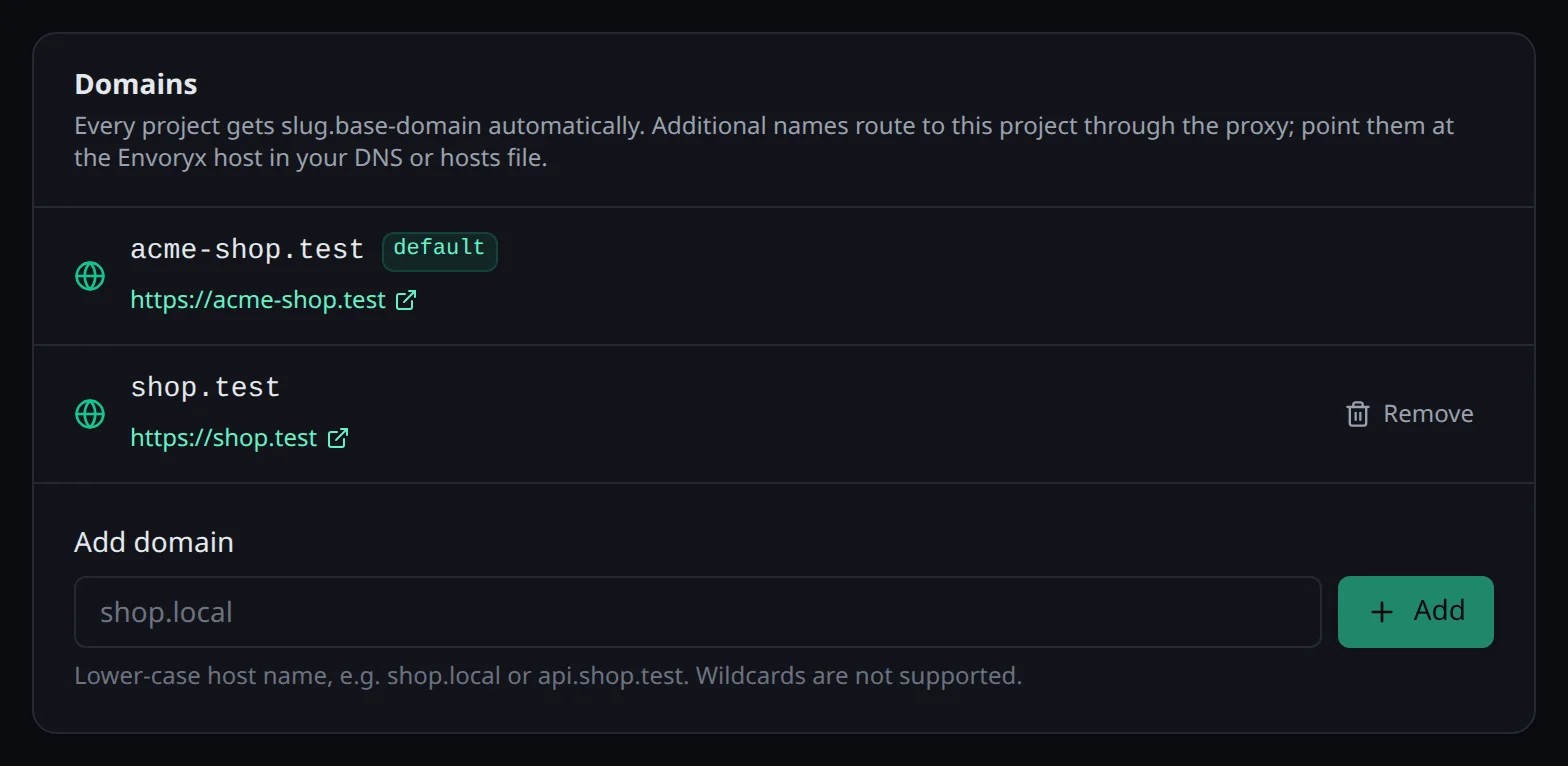
.test is a good choice because it’s reserved for exactly this and never resolves on the public internet. .local looks tempting but collides with mDNS on macOS and Linux, so I’d stay with .test or use a domain you own, like dev.example.com.
DNS: one wildcard entry
Section titled “DNS: one wildcard entry”For shop.test to work, every device you use has to know that the name points at your Envoryx host. The easy way is one wildcard entry in the DNS server of your network. It covers every project you have now and every one you’ll create later. Under Settings → Domains & HTTPS → DNS for *.test Envoryx shows you the exact entry for your DNS server, with your address already filled in:
| DNS server | Entry |
|---|---|
| AdGuard Home | Filters → DNS rewrites: domain *.test, answer <server-ip> |
| Pi-hole 6 | Settings → All settings → Miscellaneous → misc.dnsmasq_lines: address=/test/<server-ip> |
| Pi-hole 5 | /etc/dnsmasq.d/99-envoryx.conf with address=/test/<server-ip>, then pihole restartdns |
| dnsmasq / OpenWrt | address=/test/<server-ip> |
| Unbound (pfSense, OPNsense) | local-zone: "test." redirect and local-data: "test. IN A <server-ip>" |
| hosts file | one line per name, e.g. <server-ip> envoryx.test shop.test - needed again for every new project |
Some routers, a FritzBox for example, can’t do wildcard records at all. Then the hosts file is what’s left. To see whether everything is in place, open Settings → Diagnostics: it checks from your browser whether the wildcard resolves and whether the certificate is trusted.
Inside the project containers you don’t need any of this. Envoryx gives all proxy host names to the containers as network aliases, so an application can call its own URL or another project’s. A name that comes along later, a new project or a domain you just added, reaches the projects that are already running right away. To hand it over, Envoryx reconnects its proxy to each project network, which cuts any connection that’s open through the proxy for a moment.
HTTPS with the local CA
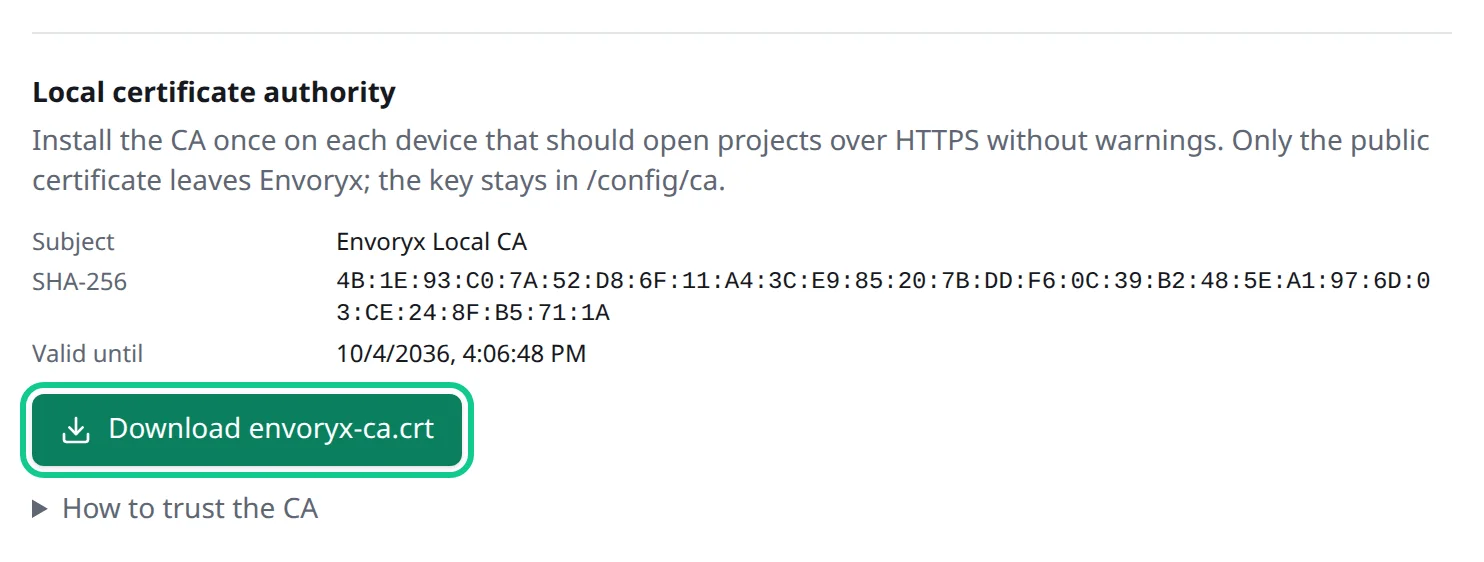
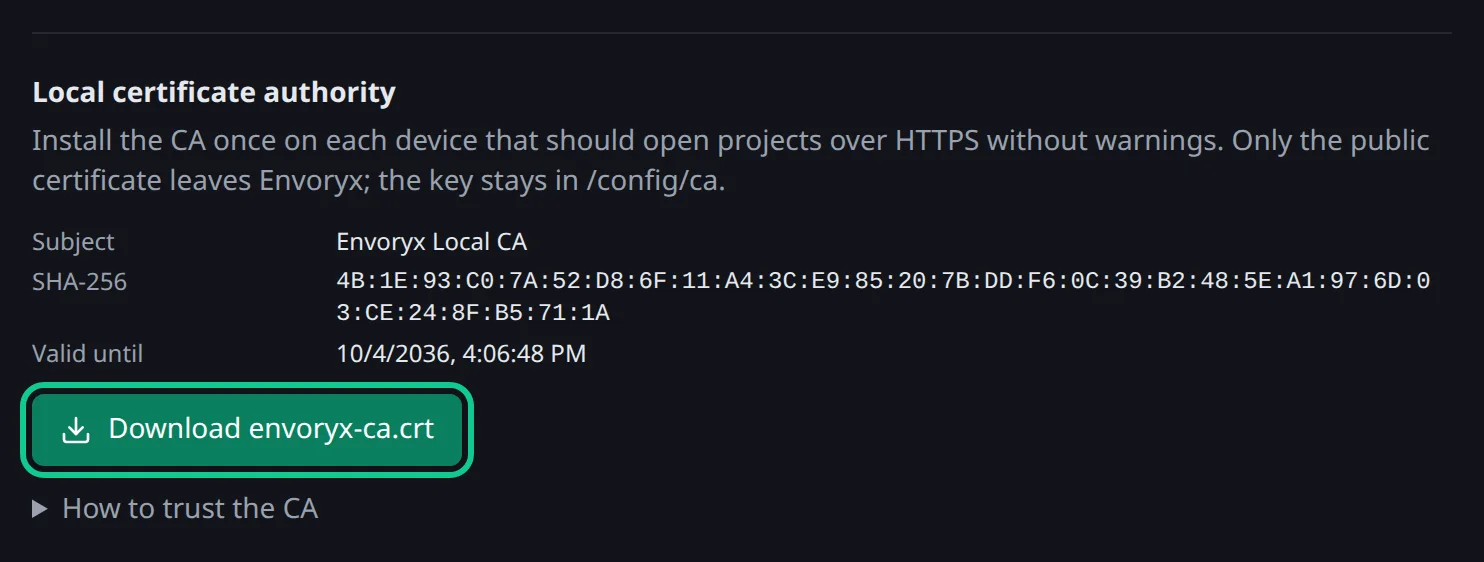
Section titled “HTTPS with the local CA”On its first start Envoryx creates its own little certificate authority under /config/ca/ and issues a certificate for each host name when it’s first needed. Your devices just have to trust that CA once. Download it under Settings → Domains & HTTPS → Download envoryx-ca.crt and install it as a trusted root certificate; the page shows you how for each operating system. Firefox keeps its own certificate store, so it needs the CA separately.
Your project containers trust the CA without any of that. An application that calls its own https://shop.test (a webhook, its own API, a cache warmer) gets through, because Envoryx mounts a bundle of the usual public CAs plus its own into the application and worker containers, so actions, cron jobs and the terminal have it too. It points SSL_CERT_FILE, REQUESTS_CA_BUNDLE, CURL_CA_BUNDLE and NODE_EXTRA_CA_CERTS at it, and PHP gets openssl.cafile and curl.cainfo in its php.ini. If the project sets one of these variables itself, its value wins. Java keeps its own keystore and isn’t covered. And if you run a custom image that already trusts a company CA in its own store, that CA isn’t in Envoryx’s bundle: set SSL_CERT_FILE (and whichever of the others your tools read) in the project’s environment to a bundle that has everything you need.
With Force HTTPS switched on, http:// requests for known names are redirected to HTTPS.
Let’s Encrypt for your own domain
Section titled “Let’s Encrypt for your own domain”If you own a domain, you can skip the CA business entirely. Envoryx then gets a public wildcard certificate and renews it on its own, and no device needs anything installed. It uses the ACME DNS challenge through your DNS provider’s API, so nothing has to be reachable from the internet.
This works with Cloudflare, Hetzner, netcup, Amazon Route 53, DigitalOcean and Porkbun. First create API credentials at your provider; for Cloudflare that’s an API token from the Edit zone DNS template, restricted to the zone. Then fill in Settings → Domains & HTTPS → Let’s Encrypt: provider, domain (for example dev.example.com; the wildcard *.dev.example.com is added for you), contact e-mail and credentials, tick Use as base domain and enable it. Last step: in your local DNS, rewrite *.dev.example.com to Envoryx’s address. Don’t create a public record for it.
The certificate shows up after a minute or two (netcup and Porkbun are a bit slower to publish records) and is renewed 30 days before it runs out. The local CA stays around for any other names. Want to try the setup first? The staging option does that without running into rate limits. And if you already have a wildcard certificate, you can upload it together with its key in the same card instead.
Domains → Rules lets you tell the proxy what to do with a project’s requests before your application ever sees them. The rules apply to every host name of the project and to a share. The directly published port goes around the proxy, so they don’t apply there.
Allowed addresses limits the project to certain addresses or networks, one per line (192.168.1.0/24, 10.8.0.5, IPv6 works too); everybody else gets a 403. If there’s another reverse proxy in front, the address the rule sees is that proxy’s. A project with such an allowlist can’t be shared.
User name and password puts HTTP basic authentication in front of the whole project. That’s handy for a staging copy or a share you send around. Your application never sees these credentials.
Redirects are tried in order and the first match answers, with a 302 unless you pick 301, 307 or 308. From is a path or a prefix ending in *, and a To ending in * gets the rest of the path. A typical use: www.shop.test /* → https://shop.test/* to make one host name the canonical one.
Response headers are added to every answer, X-Robots-Tag: noindex or a Content-Security-Policy for example. An empty value removes a header, which is how you get rid of X-Powered-By.
CORS is for a frontend that lives on another host name. The proxy answers the preflight requests for the origins you list (https://app.test, https://*.shop.test or *) and adds the CORS headers. If you tick Allow cookies and credentials, the origins have to be listed explicitly.
The proxy works through these in a fixed order: allowlist, HTTPS redirect, CORS preflight, password, redirects, and only then your application.
What your application sees
Section titled “What your application sees”The proxy keeps the original Host header, sets X-Forwarded-For, X-Forwarded-Proto and X-Forwarded-Host, and passes WebSockets through. So your application builds correct absolute URLs without extra work. PHP doesn’t even have to look at those headers: since TLS ends at the proxy, the project’s web server sets HTTPS=on, REQUEST_SCHEME=https and the browser’s port for requests that came in over https, so Laravel, Symfony, Shopware, TYPO3 and WordPress need no trusted-proxy setup (more on the PHP page). If it needs to know its own address, ENVORYX_URL has it; in a .env that’s APP_URL=${ENVORYX_URL}.
A few tools check the host name themselves: Vite’s dev server, Next.js in development and Drupal.
Envoryx lets everything under your base domain through for Vite, and the Next.js and Drupal
templates list the base domain too, so an extra domain like www.shop.test just works. A domain of
your own outside the base domain has to go into their lists by hand; the
Node.js and PHP
pages say where.