
Your first project
In Envoryx, a project is one application plus everything it needs to run: its folder under
/projects, a web server, a runtime and, if you like, a database and other services. Each
project gets its own Docker network and its own containers, so two projects never get in each
other’s way.
Creating it
Section titled “Creating it”Click New project. The wizard has three steps, and the summary on the right shows what you’ve picked so far; click any line of it to change that choice.
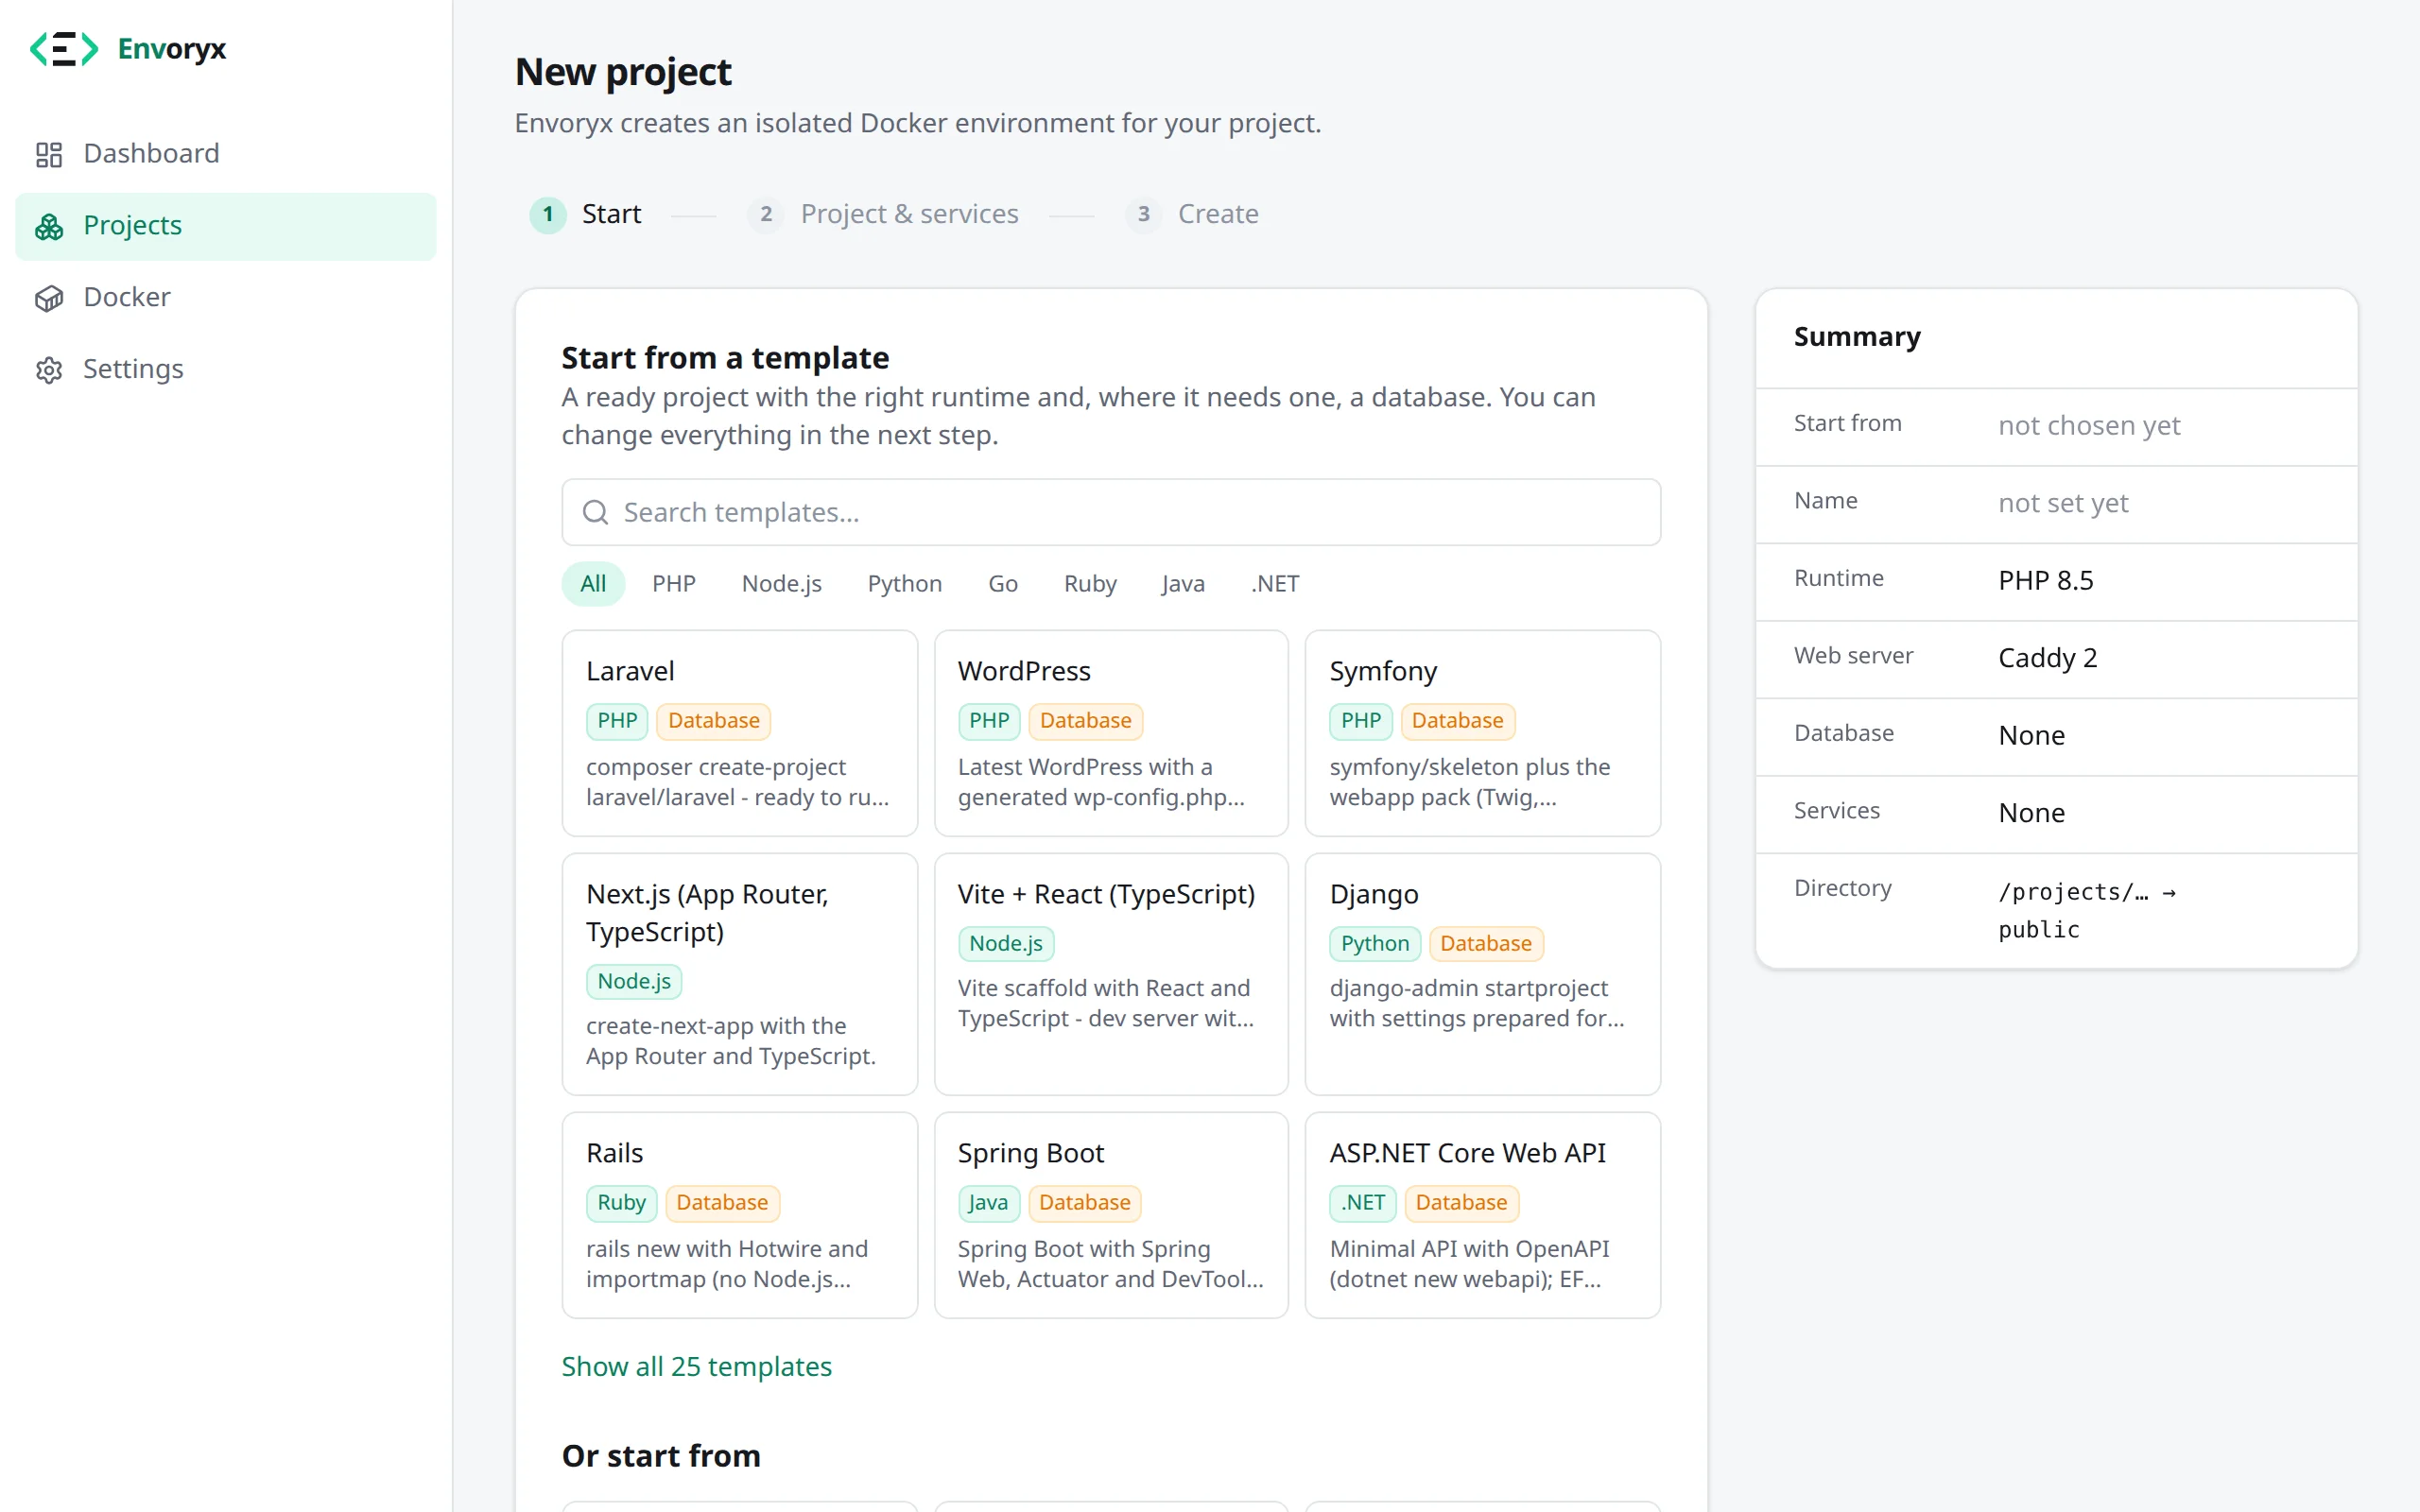
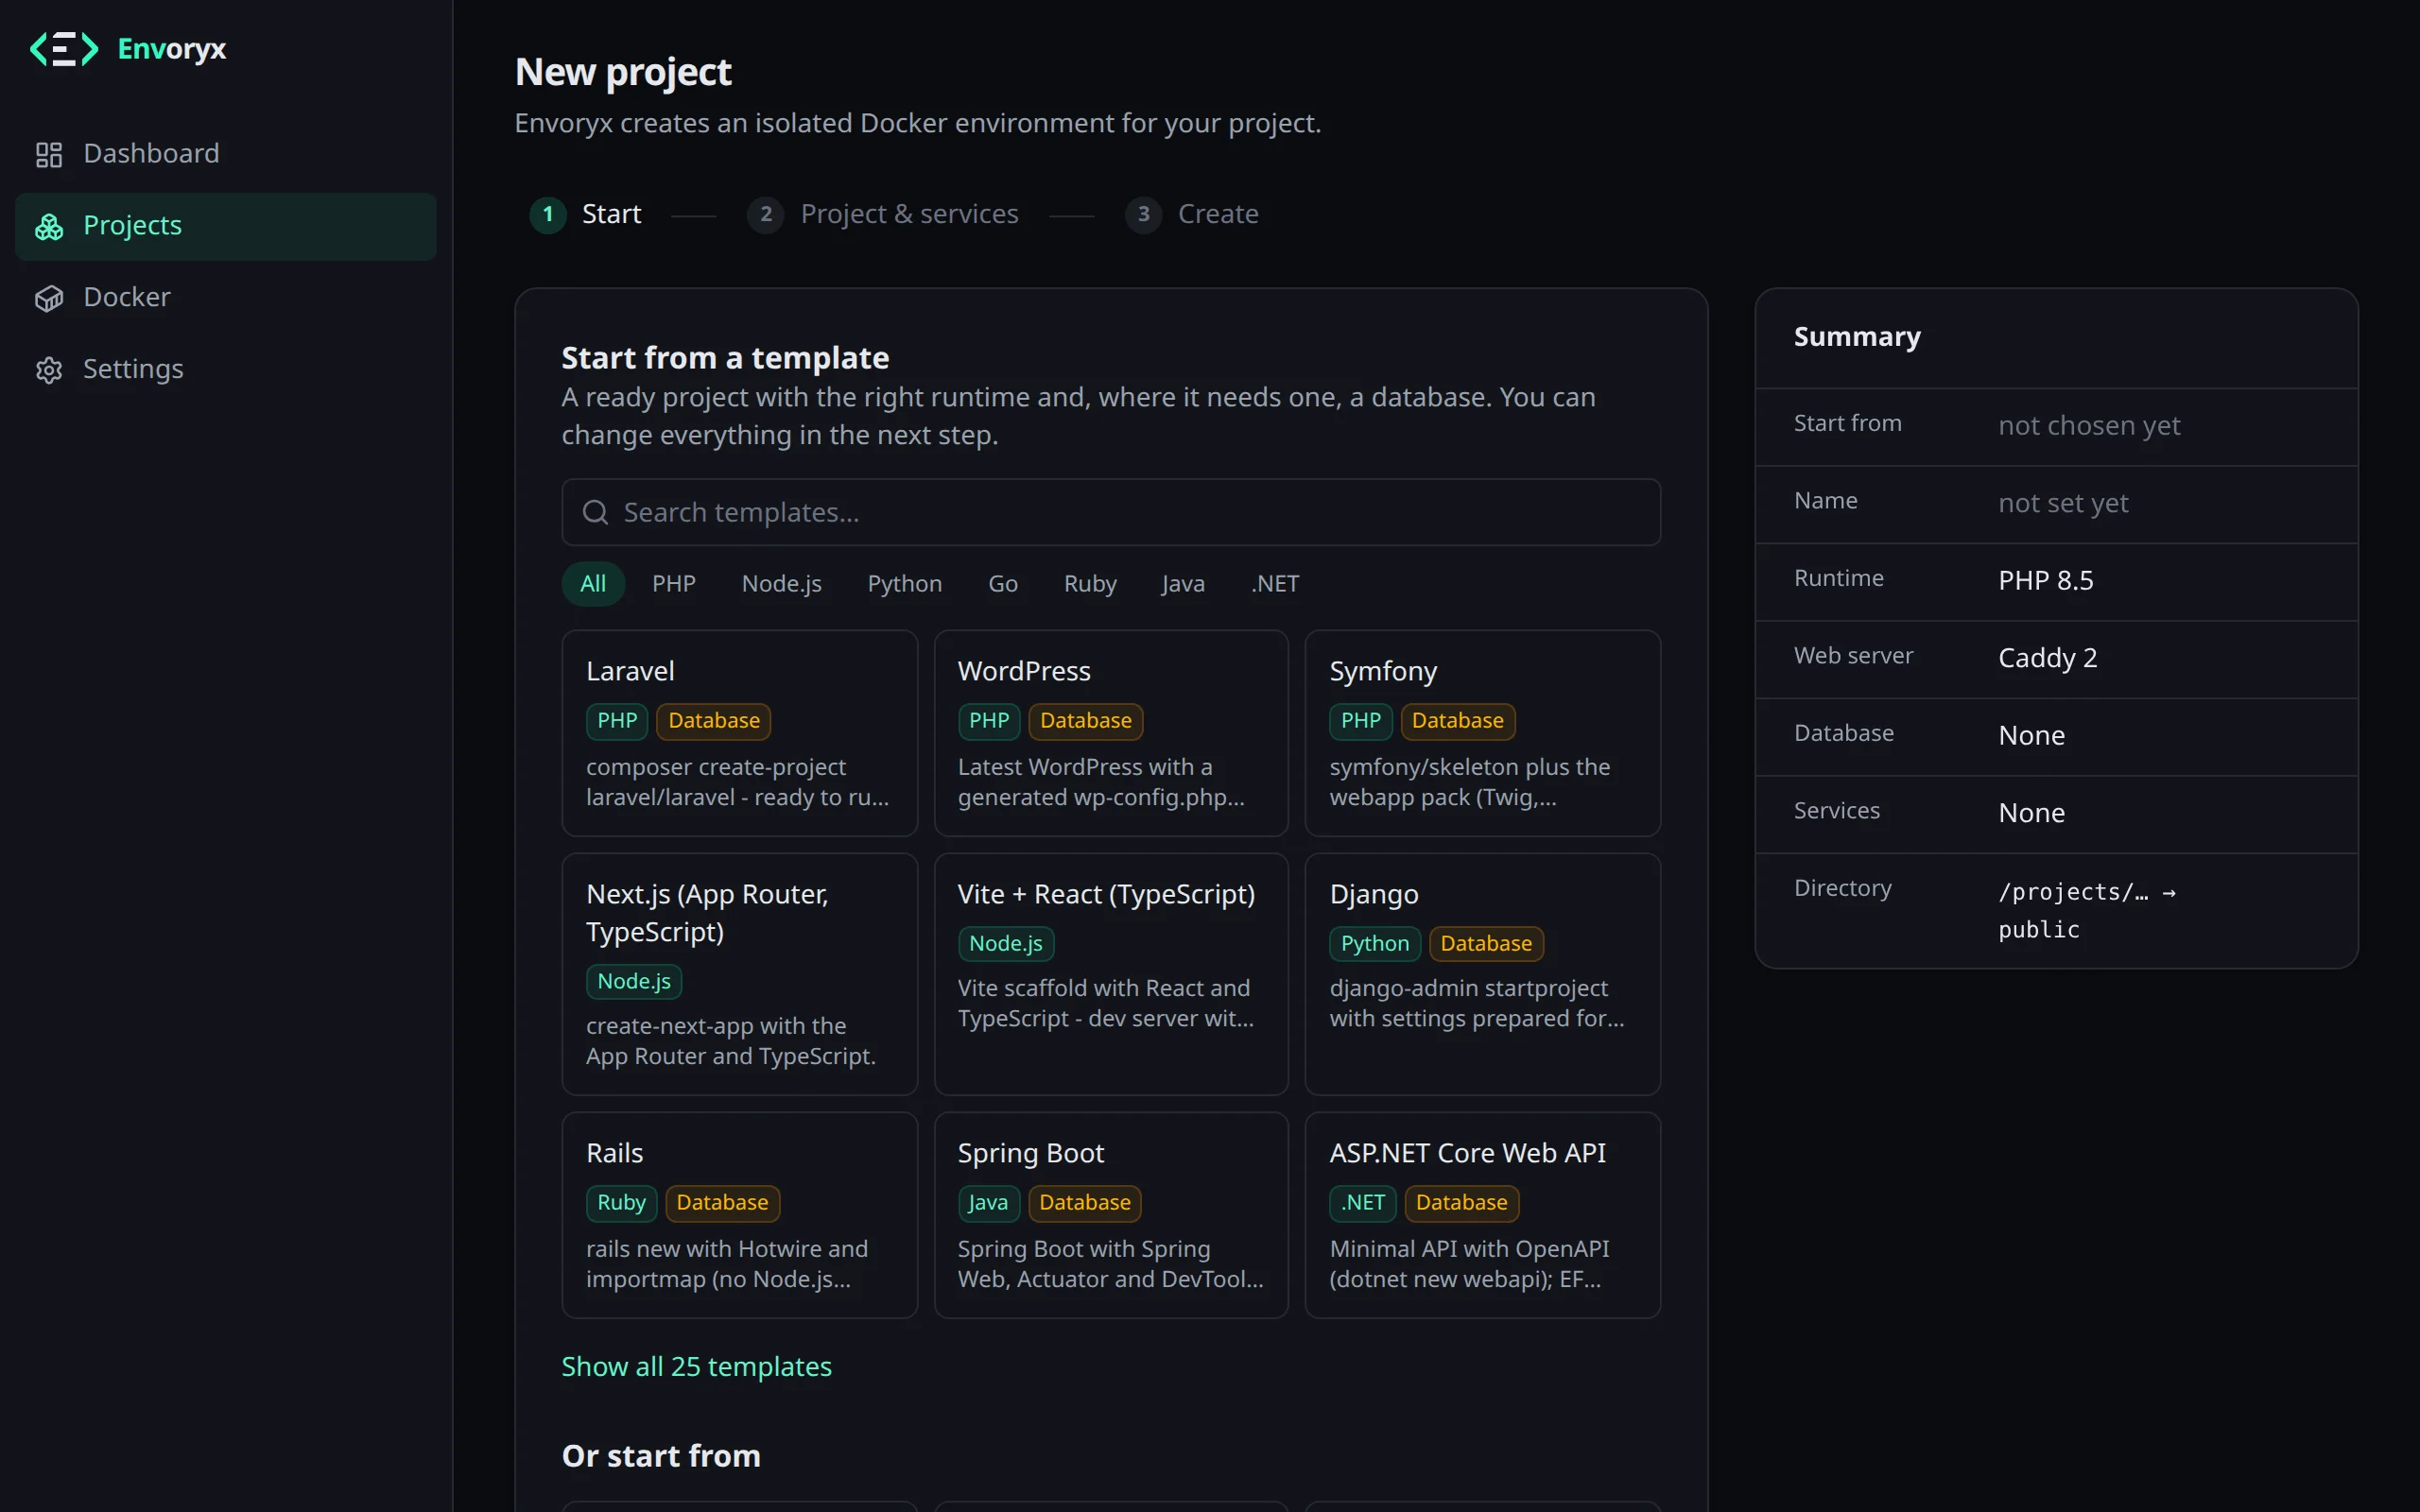
- Start. Decide where the project starts. Start from a template shows a gallery of fresh applications for every runtime, the popular ones first (Laravel, WordPress, Symfony, Next.js, Vite + React, Django, Rails, Spring Boot, ASP.NET Core Web API) and the rest behind Show all templates; the search box and the runtime filter narrow it down. A template brings its runtime and, where the framework needs one, a database. Below the gallery you can start from a Git repository instead (then tell Envoryx what the repository runs), from an Existing website you upload, database dump included if you want (more on importing), or from an Empty project, where you pick the runtime yourself: PHP, Python, Go, Ruby, Java, .NET or Node.js application, or static site.
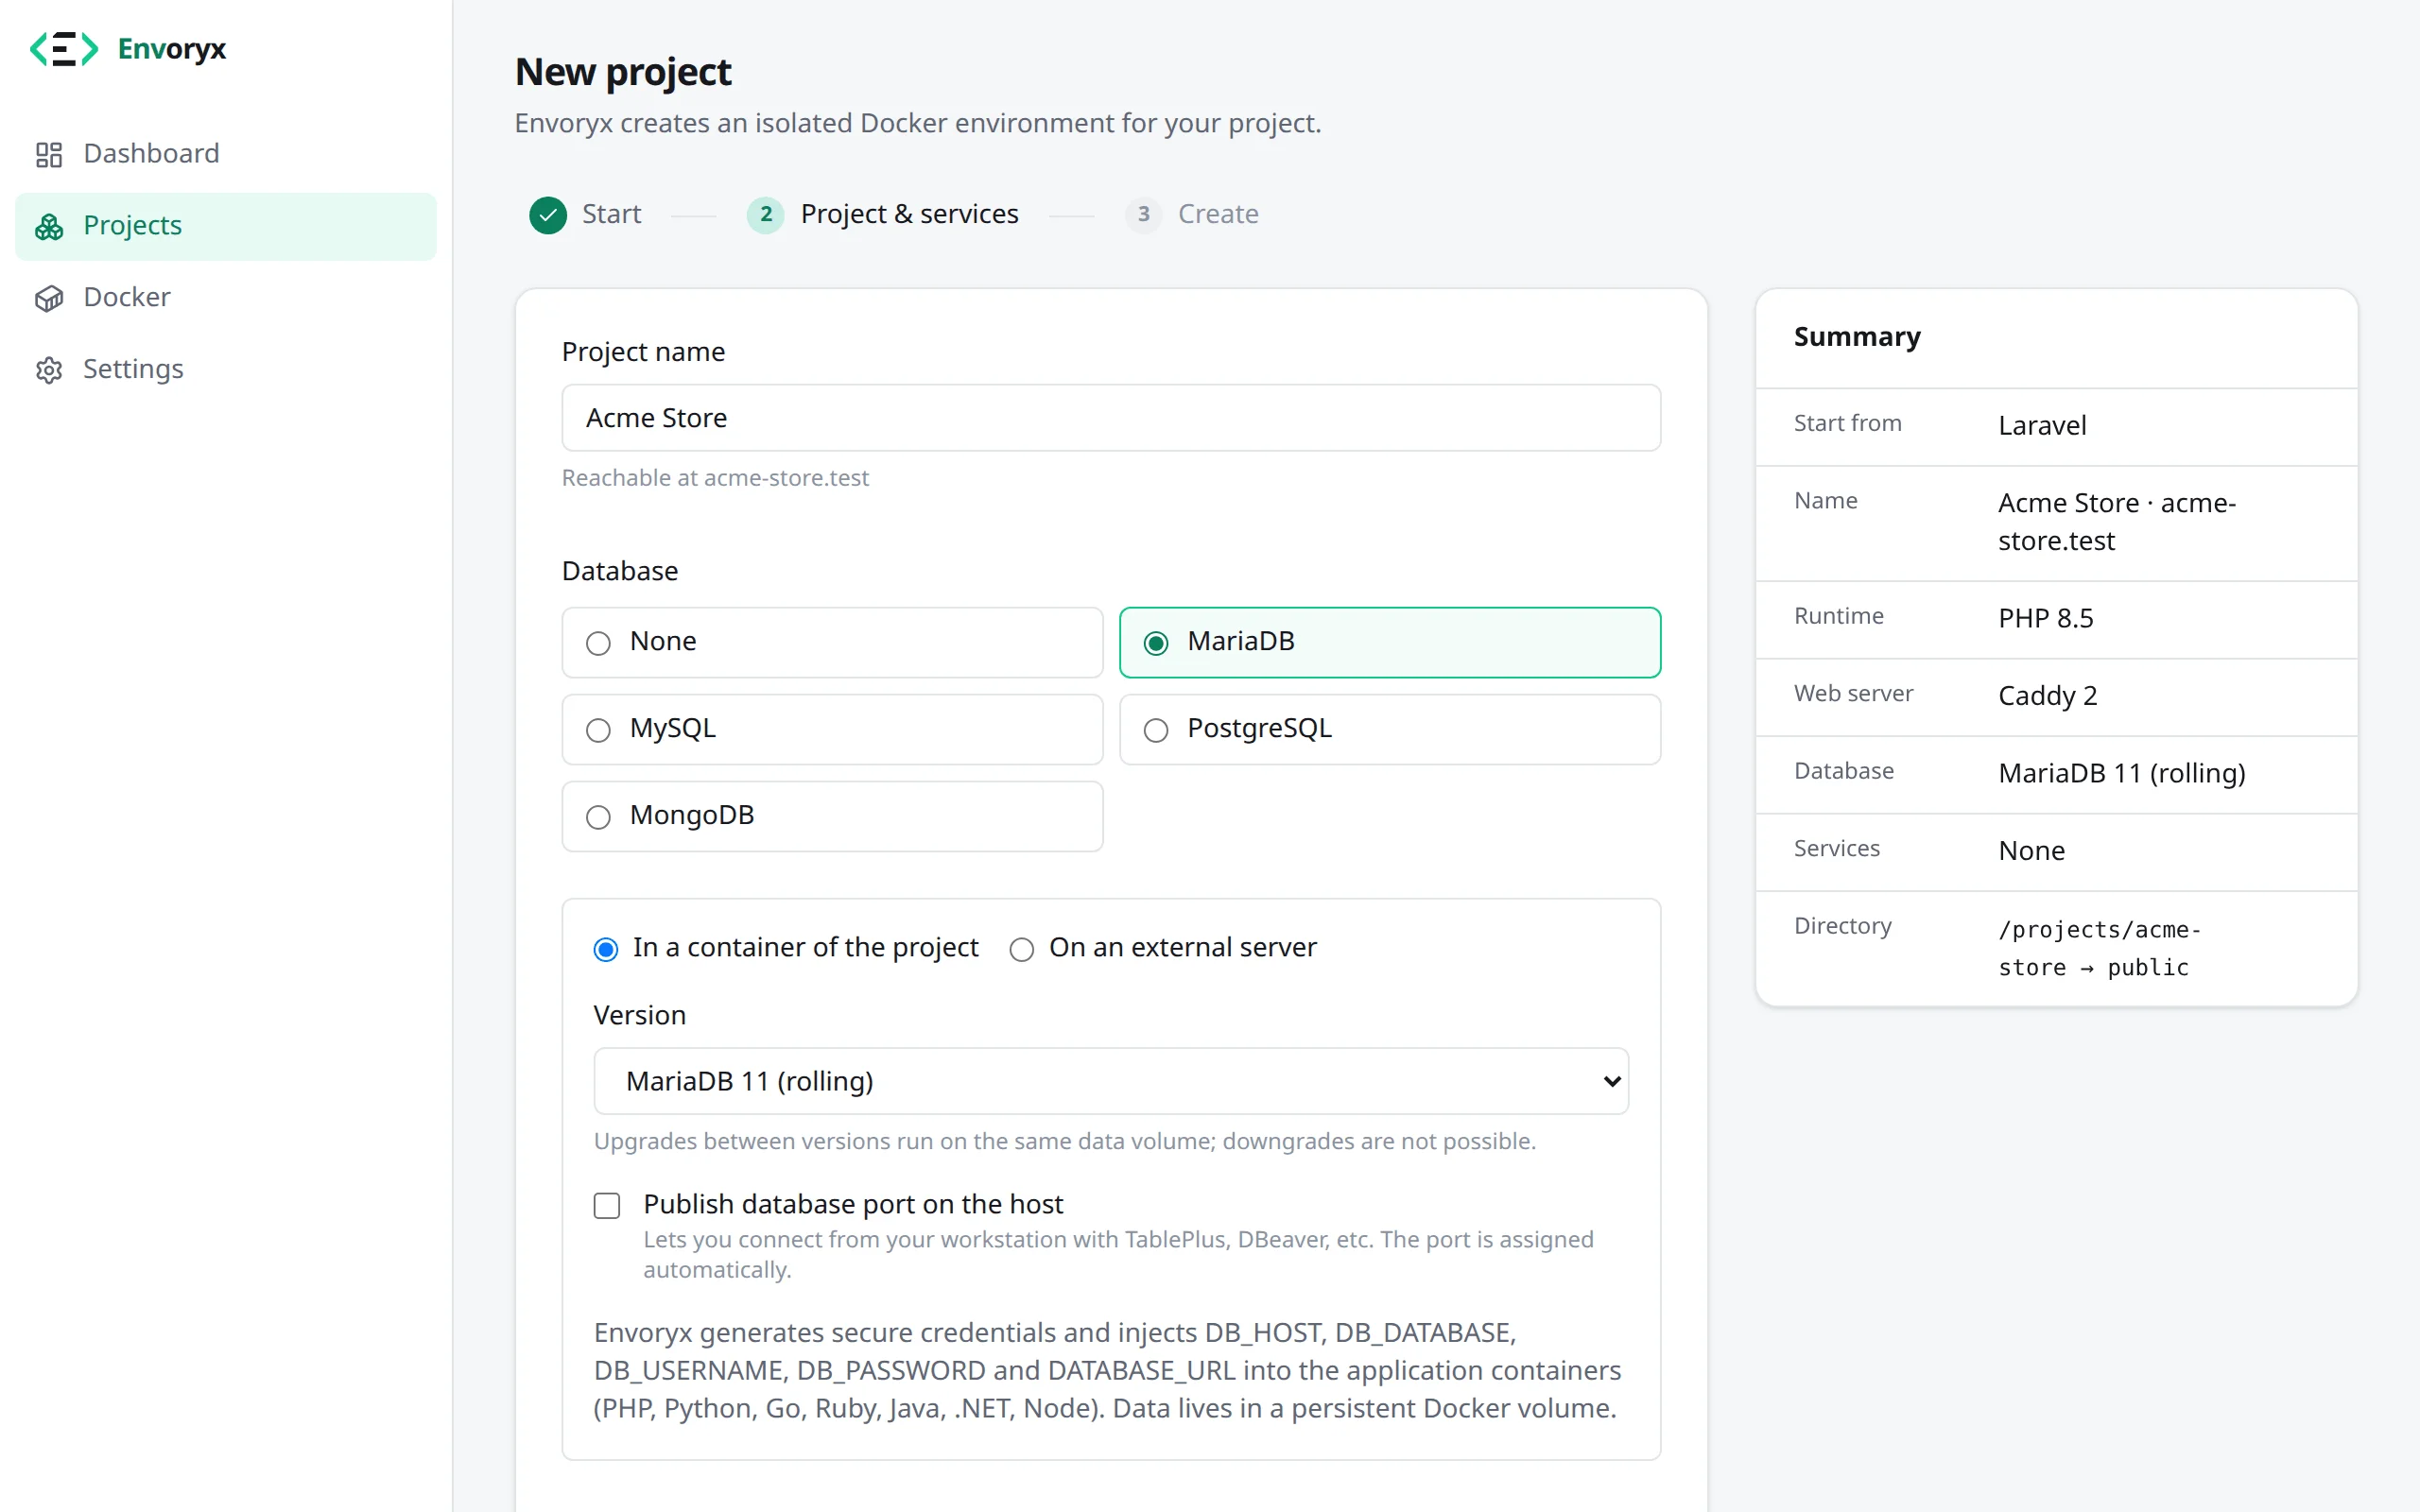
- Project & services. Give the project a name; Envoryx derives the identifier for URLs and
container names from it and shows you the address right under the field. Then pick a
database (MariaDB, MySQL, PostgreSQL, MongoDB) and services like Redis, Mailpit, search
engines or object storage. Everything else waits under Advanced settings: the runtime
version and its options, more runtimes as tools (Node.js next to PHP for your asset builds,
for example), the web server (Caddy by default, Apache reads
.htaccessfiles, and there’s Nginx too), the project folder and document root, and environment variables, which you can also import from a.envfile. The defaults fit most projects. - Create. A preview of the containers, volumes and images Envoryx is about to create. If something doesn’t fit together, you’ll see a warning here.
Create project gets things going, and you can watch the progress live. Templates are scaffolded in a short-lived container from the project’s runtime image, running as the project owner, so the files end up belonging to you.
Opening it
Section titled “Opening it”Once the project turns green, you can open it in two ways. Direct access is
http://<host>:<port> with a port from the project range (20000-20999) and works right away,
without any DNS setup. By name means https://<project>.test through the built-in proxy -
that needs the proxy ports mapped and a bit of DNS, which
Domains and HTTPS explains.

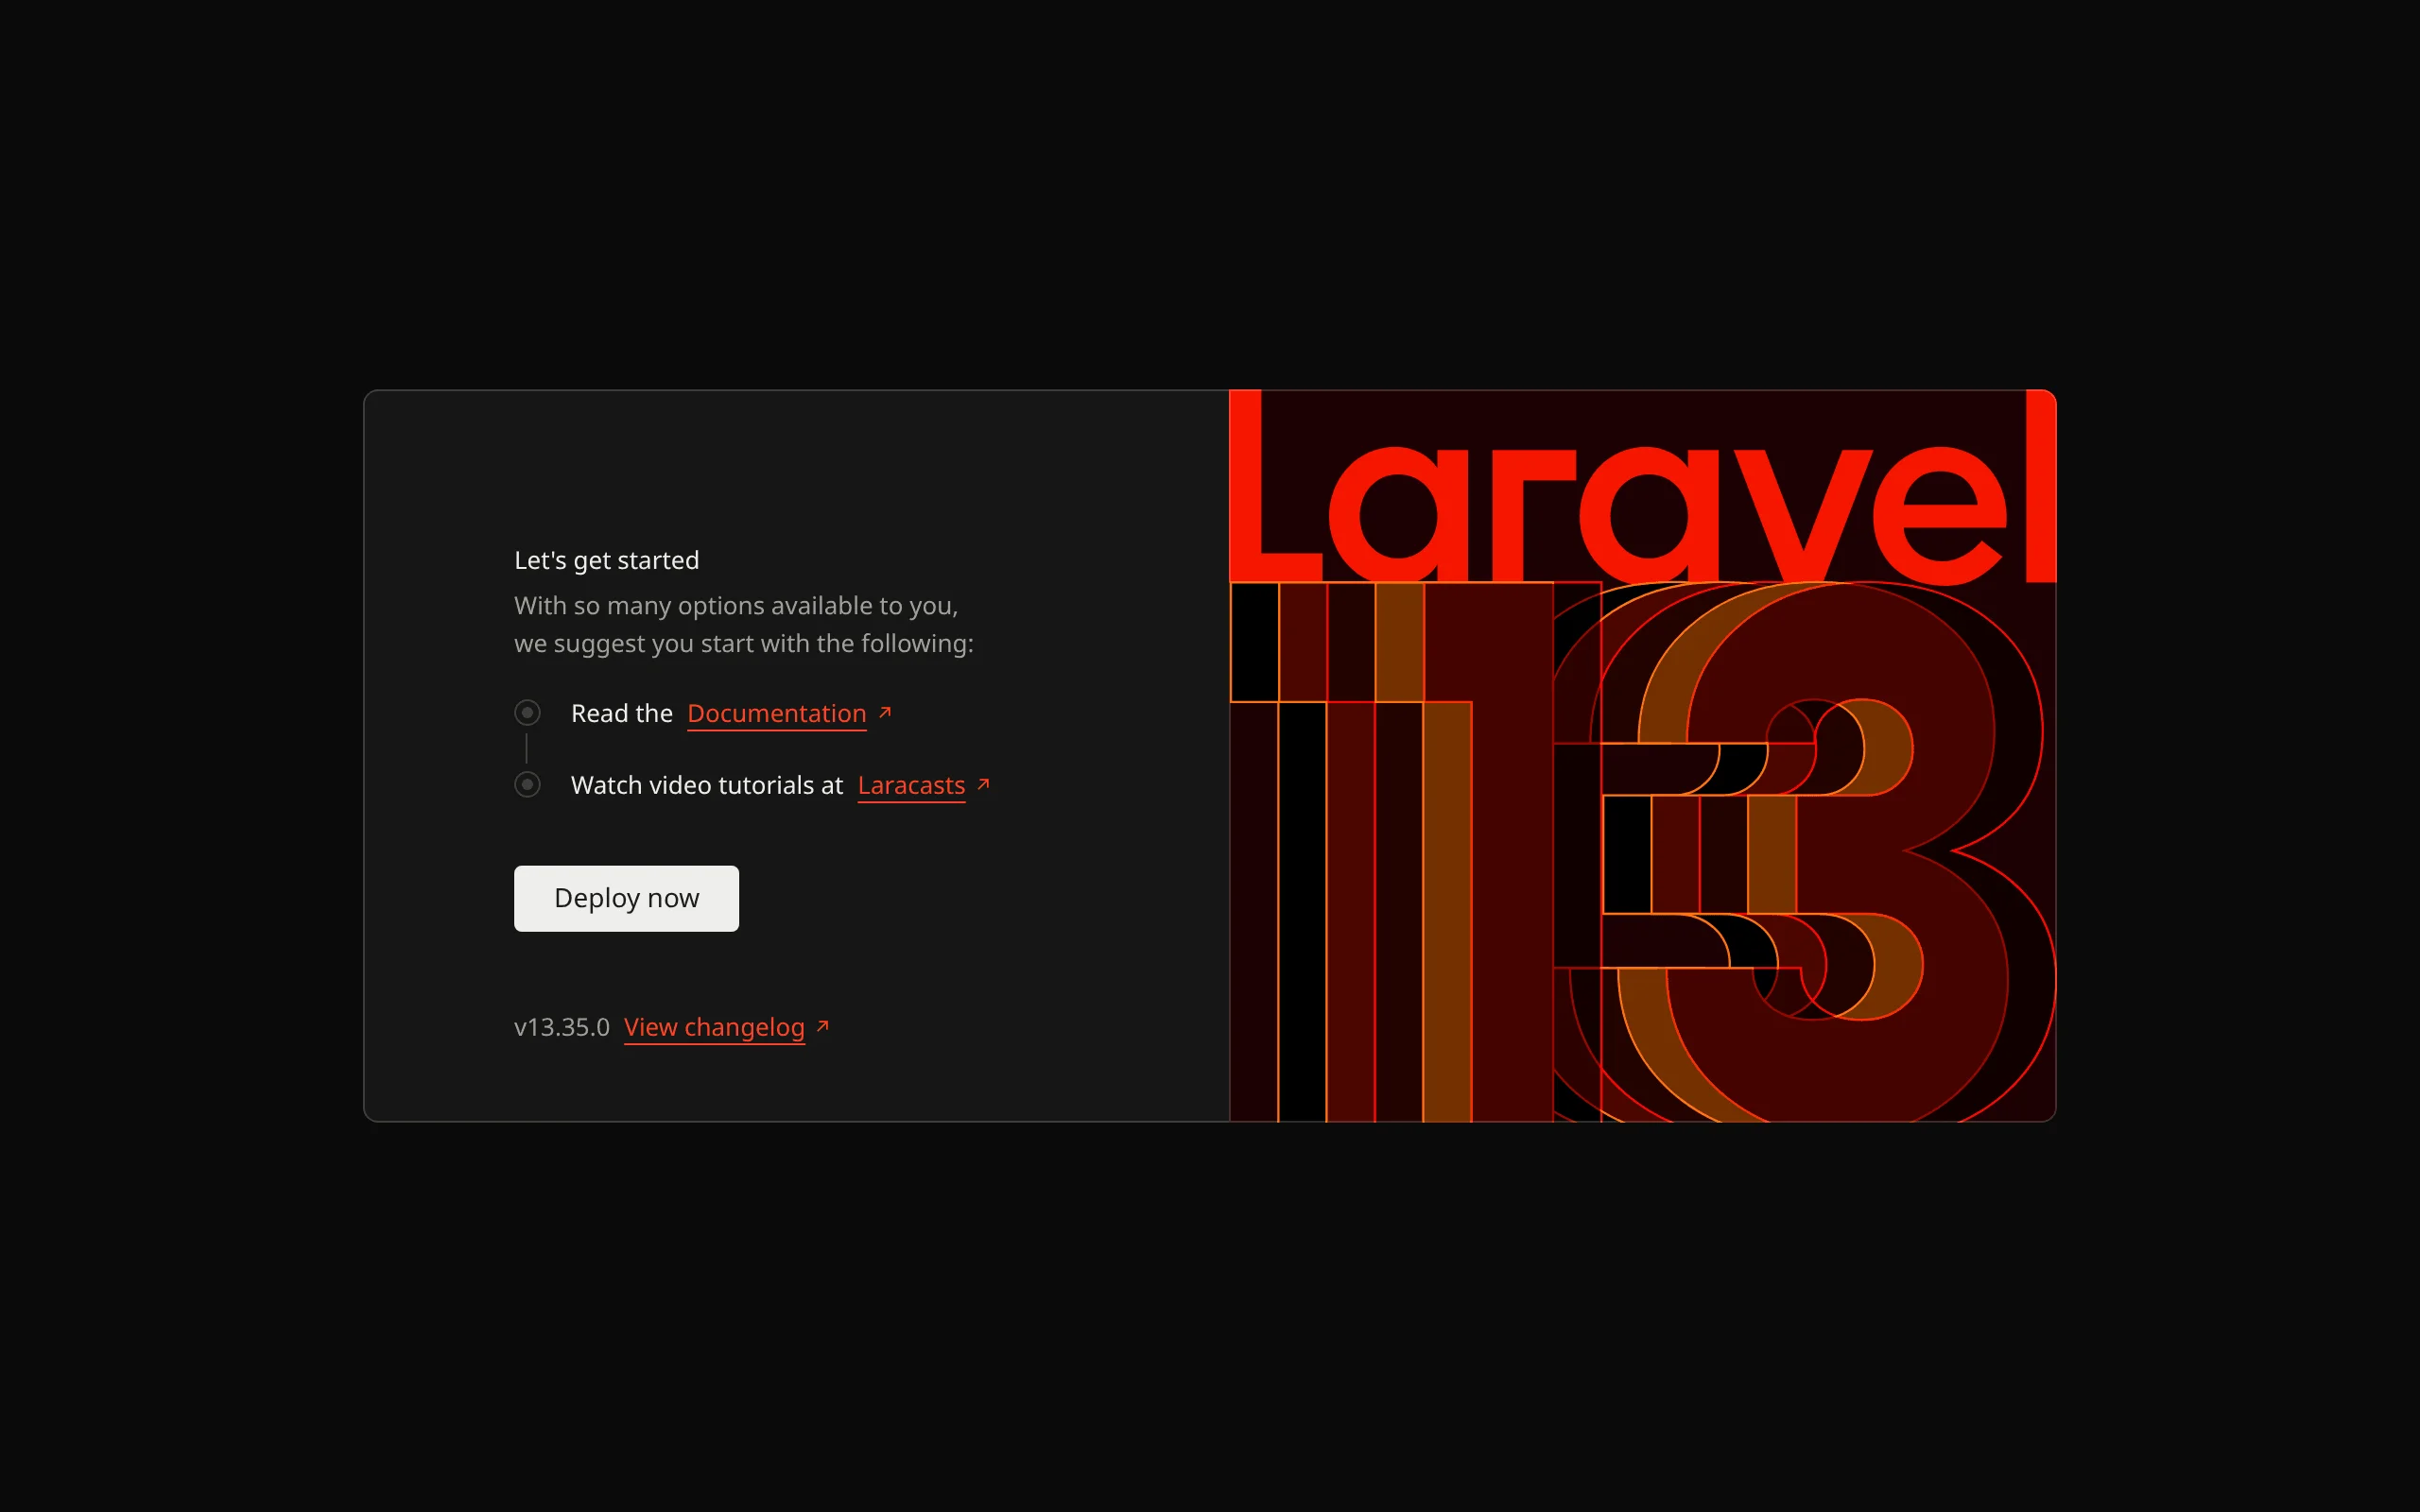
Many templates tell you what to do next after creation, like running artisan migrate or
rails db:prepare from the Actions section.
The project page
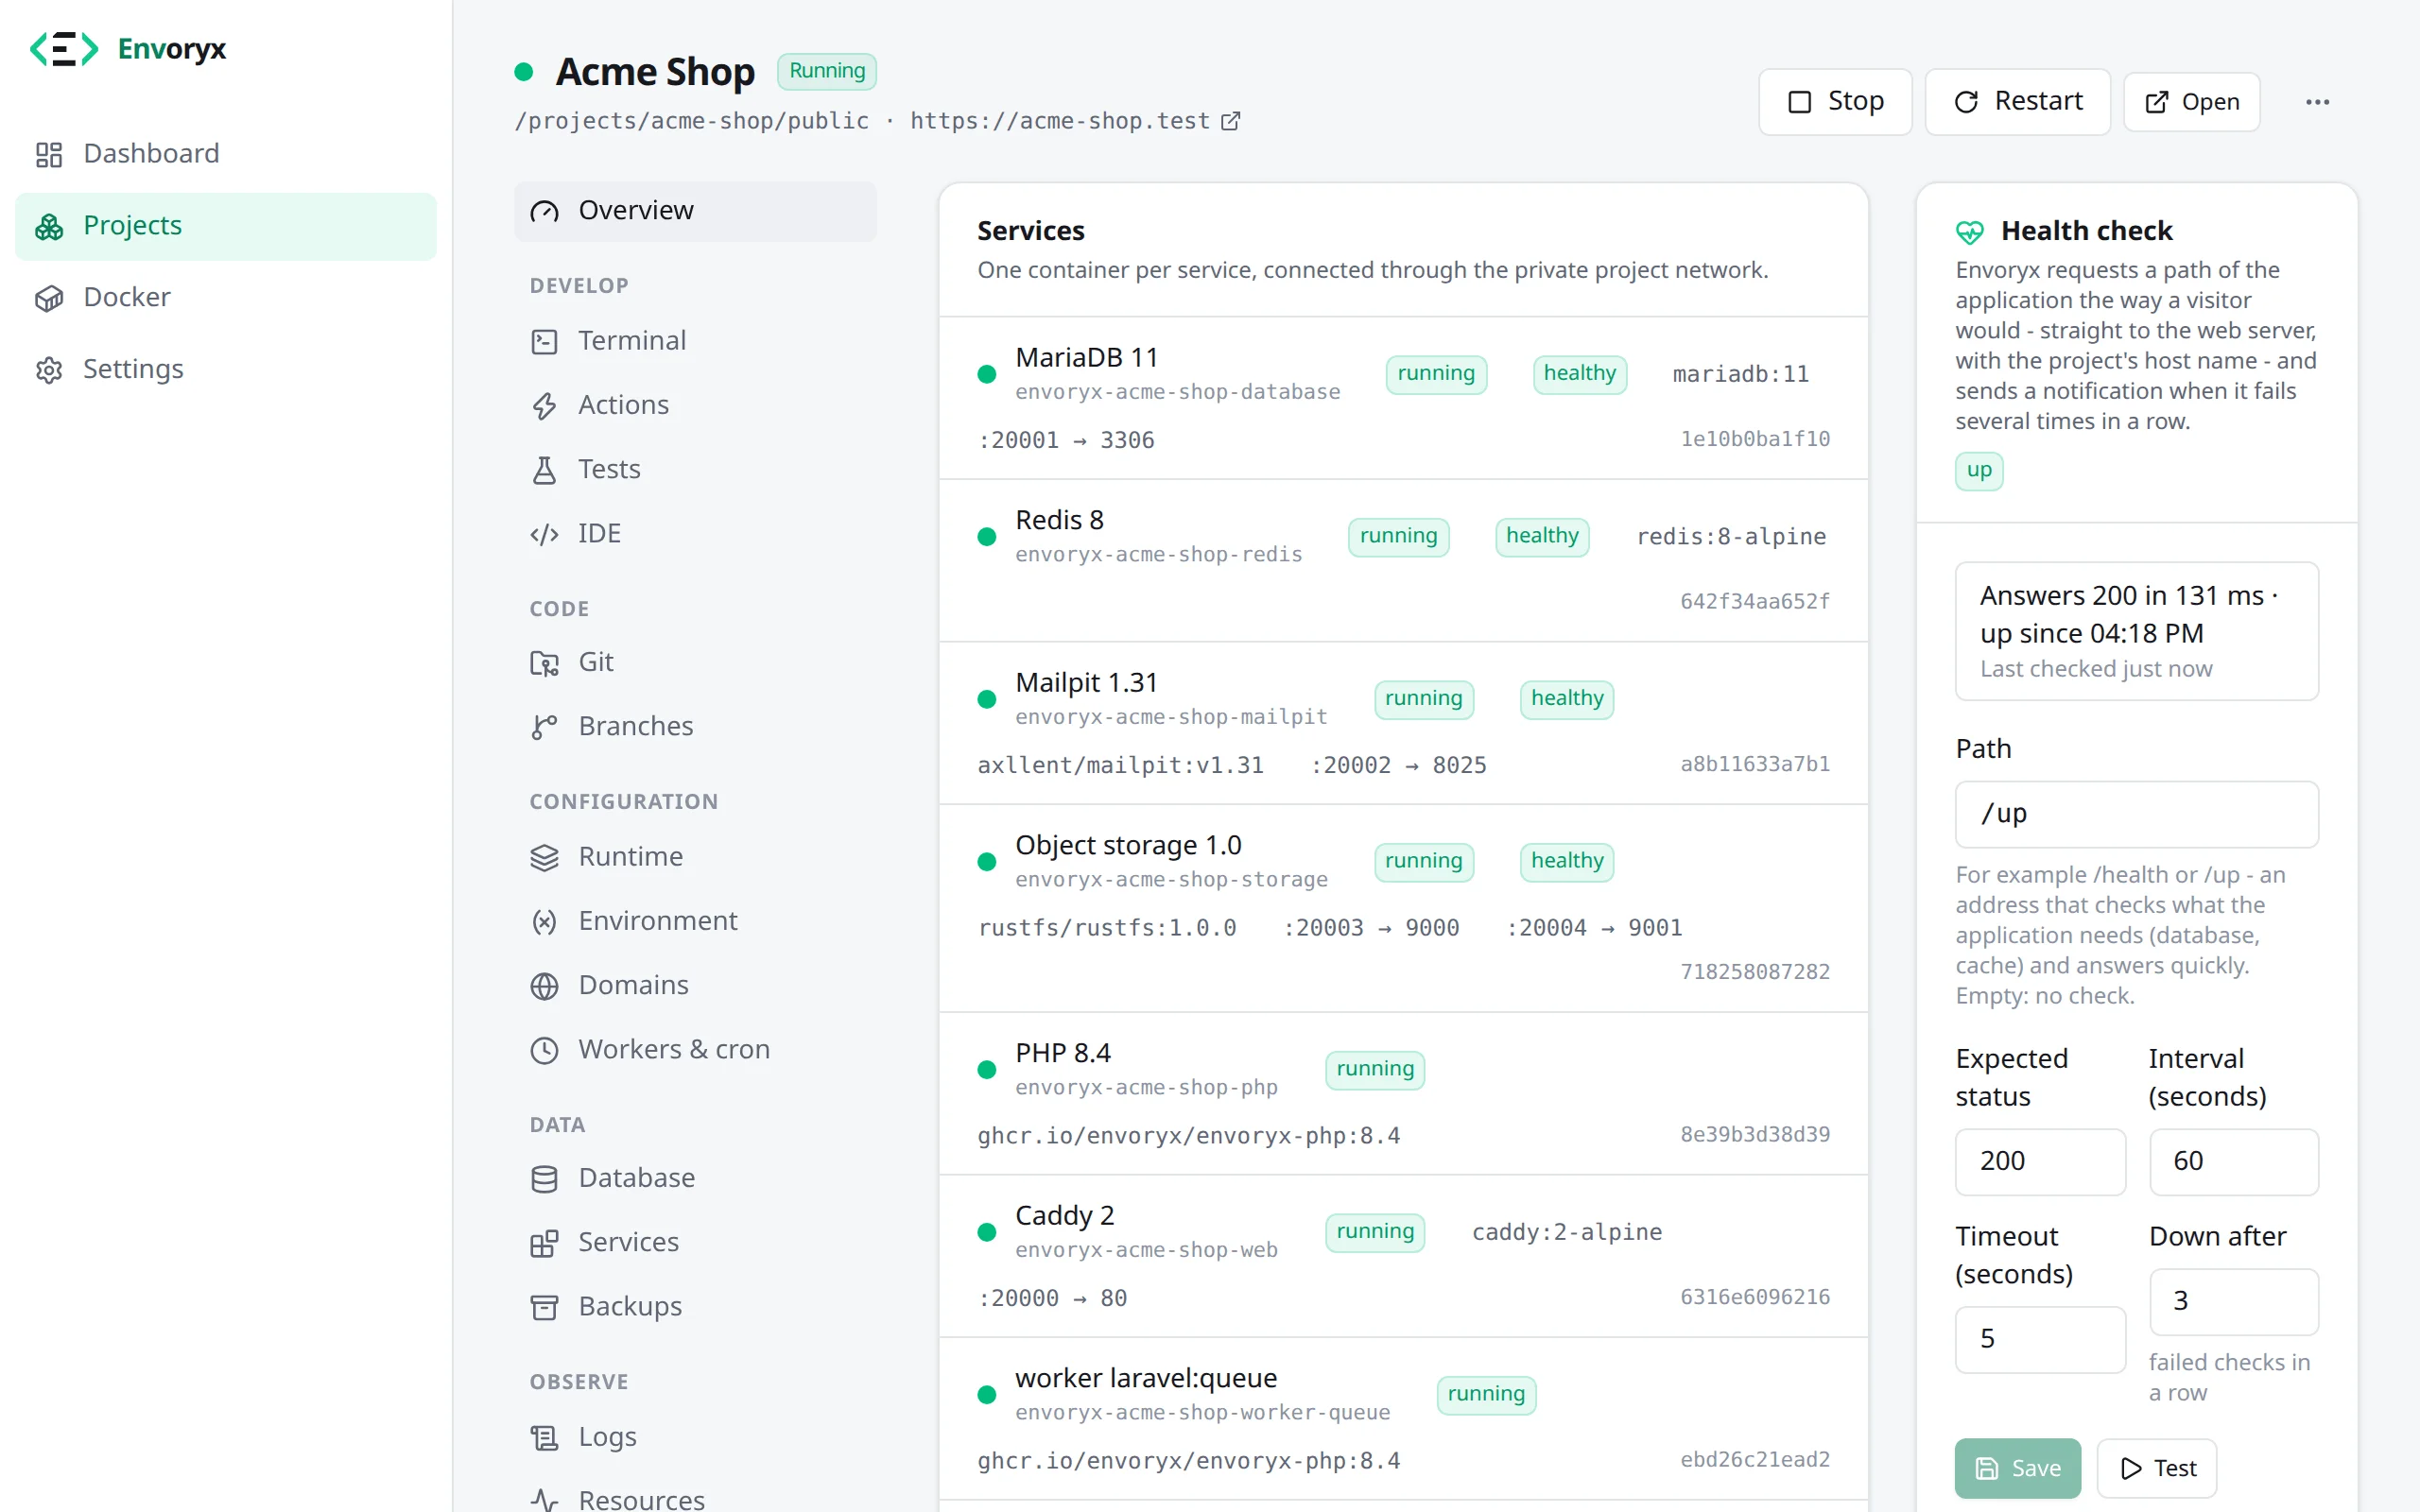
Section titled “The project page”Everything about a project lives on its page. The sidebar on the left groups the sections by what you came to do; on a phone it turns into a drop-down above the content.
| Group | Section | What you’ll find there |
|---|---|---|
| Overview | State, services and the health check. | |
| Develop | Terminal | A shell in any container of the project. |
| Actions | Predefined commands (composer, npm, migrations …) with live output. | |
| Tests | Test suites found in the project, runs and results. | |
| IDE | SSH, debugger and database connection details for your IDE. | |
| Code | Git | Clone, pull, the project as envoryx.yml. |
| Branches | Branch environments: copies of the project on other branches. | |
| Configuration | Runtime | PHP, Node.js, Python, Go, Ruby, Java and .NET settings, the web server. |
| Environment | Environment variables. | |
| Domains | Project URLs, extra domains, proxy rules. | |
| Workers & cron | Long-running processes and scheduled commands. | |
| Data | Database | Databases and database snapshots. |
| Services | The other services, like Redis, Mailpit or a search engine. | |
| Backups | Backups and restores. | |
| Observe | Logs | Live logs and the log history. |
| Resources | CPU, memory and process limits, and the usage history. | |
| History | Everything done to the project, newest first. |
Start, Stop and Restart sit in the project header. The rarer things live in the More actions menu (⋯) next to them: Share publicly, Rename project, Duplicate project, the Docker plan (containers, volumes and images of the project) and Delete project. What they do in detail is on the project lifecycle page.
Where to go from here
Section titled “Where to go from here”If you want to know more about the options in the wizard, read creating projects. Or jump to the page of your runtime: PHP, Node.js, Python, Go or Ruby.