Installation
Envoryx is a single container. All you need is a Linux machine with Docker on it - a home server, a NAS, a VM, a cheap cloud box. x86 and ARM both work. (On Unraid, the template is the easier way.)
Pick whichever you like better. They end up with the same container.
You can paste this exactly as it is. mkdir creates the two folders as your own user, and
$(id -u) / $(id -g) fill in your user and group id, so the project files will belong to you.
mkdir -p ~/envoryx/config ~/envoryx/projectsdocker run -d --name envoryx --restart unless-stopped --stop-timeout 90 \ -p 8787:8787 -p 80:80 -p 443:443 -p 2222:2222 \ -v /var/run/docker.sock:/var/run/docker.sock \ -v ~/envoryx/config:/config -v ~/envoryx/projects:/projects \ -e PUID=$(id -u) -e PGID=$(id -g) -e ENVORYX_SHUTDOWN_GRACE=80s \ ghcr.io/envoryx/envoryx:latestMake a folder for Envoryx with two empty folders inside:
mkdir -p ~/envoryx/config ~/envoryx/projects && cd ~/envoryxSave this as compose.yml in there. Replace the two 1000s with what id -u and id -g
print for you (on most single-user machines it’s 1000 anyway).
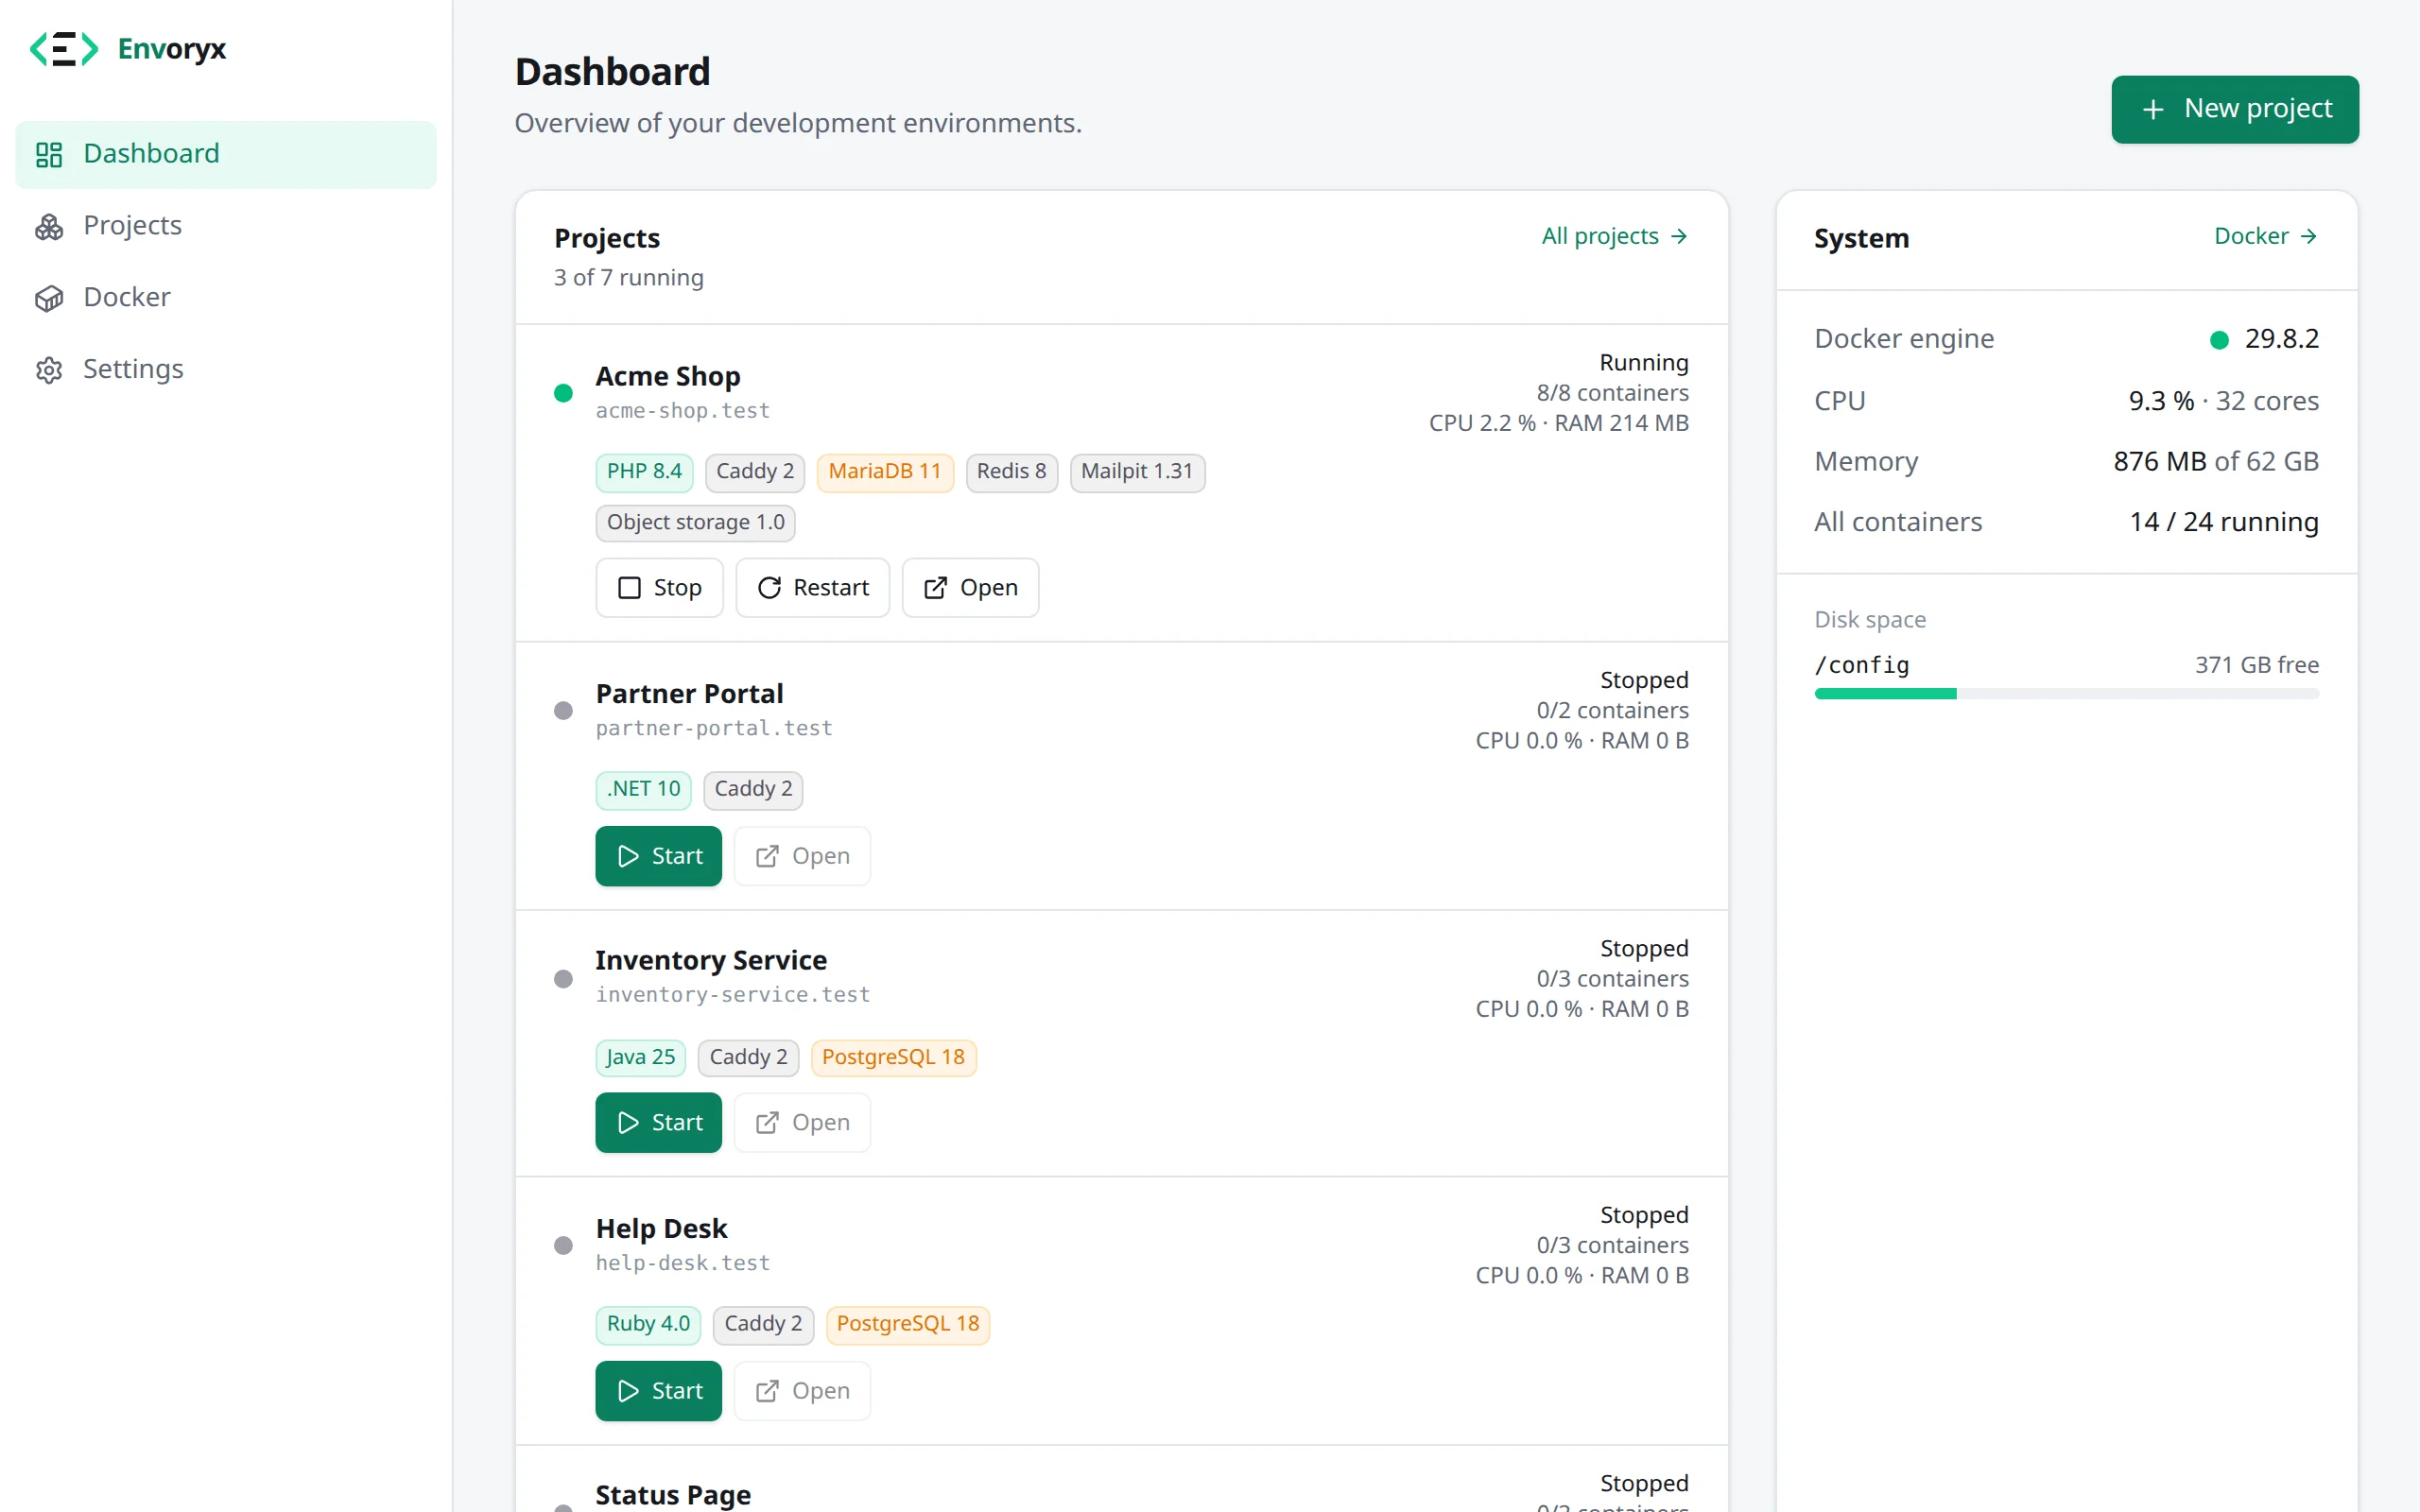
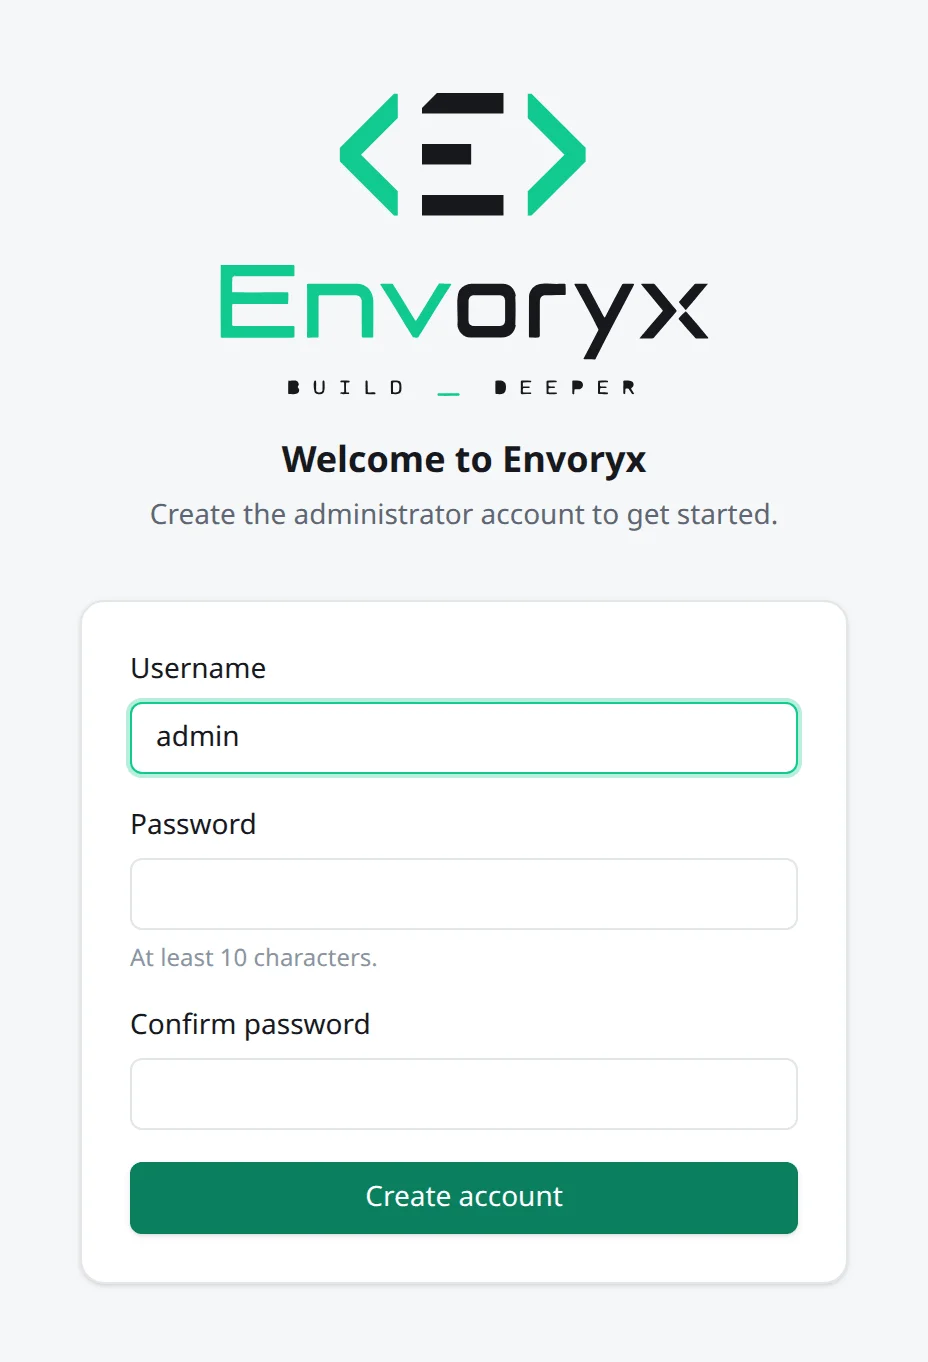
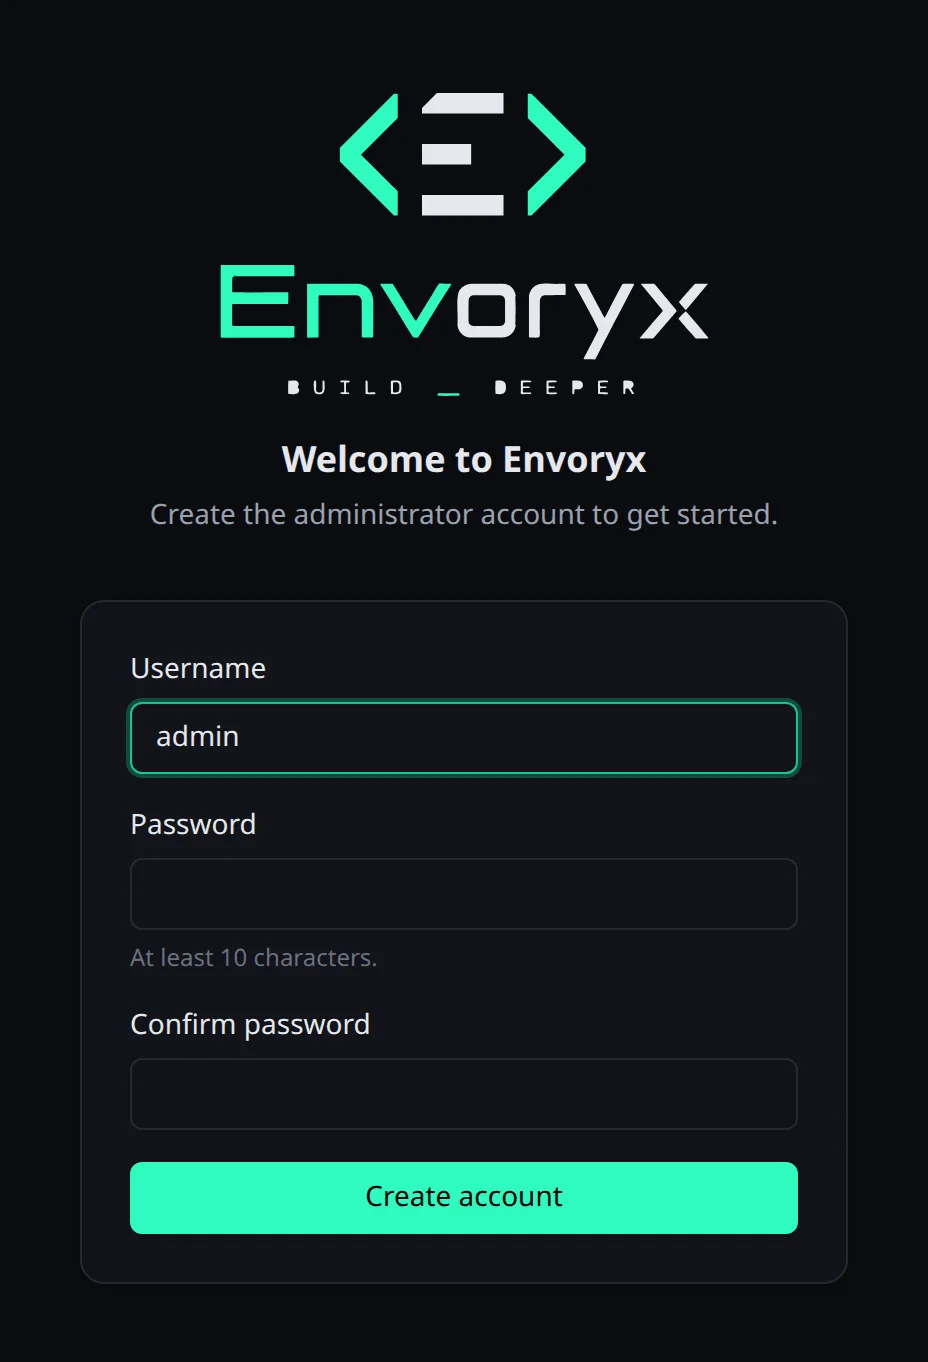
services: envoryx: image: ghcr.io/envoryx/envoryx:latest container_name: envoryx ports: - "8787:8787" # the web UI - "80:80" # your projects by domain (optional) - "443:443" # the same with HTTPS (optional) - "2222:2222" # SSH for your IDE (optional) volumes: - /var/run/docker.sock:/var/run/docker.sock - ./config:/config - ./projects:/projects environment: PUID: 1000 PGID: 1000 ENVORYX_SHUTDOWN_GRACE: 80s stop_grace_period: 90s restart: unless-stoppeddocker compose up -dGive it a few seconds, then open http://<your-server>:8787. The first thing you’ll see is the
form for your admin account.
Ports already taken?
Section titled “Ports already taken?”Port 80 and 443 are often in use already - by a web server or another proxy. That’s fine.
Map different ones, say -p 8080:80 -p 8443:443, or drop the two entirely if you don’t need
nice domain names yet. Envoryx looks at its own port mappings and builds its links from them.
Domains and HTTPS explains what those ports are for.
The same goes for 8787 and 2222: any free port on the left side works.
What the pieces do
Section titled “What the pieces do”The Docker socket (/var/run/docker.sock) is how Envoryx creates the containers for your
projects. That’s also the part to think about for a moment: whoever controls that socket
controls Docker on the machine. Envoryx only ever touches the containers, networks and volumes
it created itself, but only run it on a host where that’s okay for you.
config holds Envoryx’s own database, the certificates and keys and your settings. Project
backups end up there too, unless you give them their own place with an extra
-v /some/where:/backups. projects is where the code of your projects lives - that’s the
folder you open in your editor.
Both have to be real folders on the host, not named Docker volumes. The project containers mount paths inside them, and Envoryx figures out the matching host paths on its own.
PUID and PGID decide who owns the files Envoryx writes. With your own ids you can edit
everything without sudo.
The stop timeout of 90 seconds and ENVORYX_SHUTDOWN_GRACE belong together: when you stop
Envoryx in the middle of a backup or an image download, it gets 80 seconds to finish before
Docker pulls the plug.
Everything else you can set is listed under Configuration.
Several instances on one host
Section titled “Several instances on one host”A second Envoryx can run on the same Docker host as the first, a test instance next to production,
say, or two instances on one Unraid server. Give it its own folders, its own container name and
other host ports on the left side (-p 9787:8787 and so on). I’d also give each instance its own
range for project ports with ENVORYX_PORT_RANGE_START and ENVORYX_PORT_RANGE_END: a new project
steers clear of the ports running containers publish, but it can’t see the ports of the other
instance’s stopped projects. The network pool is no problem, both can use the same
ENVORYX_NETWORK_POOL.
The two stay out of each other’s way because every instance has an ID. It’s created at the first
start in /config/instance-id, and Envoryx puts it as the label envoryx.instance on every
container, network and volume it creates. Whatever the other instance labelled is never listed as
its own, stopped, changed or removed; it only shows up among the foreign containers on the
Docker page.
Names are the one thing they still share. Containers, networks and volumes are named after the project, so projects on the two instances need different names. If the other instance already holds a name, creating the project fails with the name is taken by another Envoryx instance on this Docker host. Volumes from before 0.18 carry no instance label, though, and those can’t be told apart: a project of the same name would pick them up. Resources an older Envoryx created without the label stay with the instance that knows their project and get the label the next time they’re recreated anyway. Orphans without a label are never removed automatically, see Troubleshooting.
The instance ID isn’t part of instance backups, just like the secret key, and a restore keeps the current one. So restoring a production backup into a test instance doesn’t make it claim production’s containers.
If /config/instance-id gets lost, Envoryx creates a new ID and treats its old containers as
another instance’s. Put the old ID back from a container’s envoryx.instance label
(docker inspect) and restart Envoryx.
Updating
Section titled “Updating”Your data lives in the two folders, so the container itself is disposable.
With Compose:
cd ~/envoryxdocker compose pull && docker compose up -dWith docker run, pull the new image, remove the old container and run the same command as
before:
docker pull ghcr.io/envoryx/envoryx:latestdocker rm -f envoryx# then the docker run command from above again:latest always points at the newest release. If you’d rather stay on a specific version, use
its tag, like :0.12.0. (:main is the development branch - fun to try, not for your daily
work.) Envoryx checks once a day whether there’s something newer and tells you on the
dashboard. Before a new version changes its database, it saves a backup first, so going back
stays possible.
Envoryx is free software under the AGPL-3.0 and comes without any warranty.
What next?
Section titled “What next?”Time for your first project. And once that runs, it’s
worth setting up domains and HTTPS so you get addresses
like https://shop.test instead of port numbers.